Ceramic workshops have experienced a true revival. Creating something unique with our hands with a natural and silky material like clay is an experience nobody should miss. The best thing is: it can be accomplished without any major issues at home. Follow our guide to start a homemade venture!
Let's get started
Creating your own ceramic containers in the comfort of your home is not difficult, it just requires little time and is very relaxing. Once you have tried it, you will probably do it over and over again: create your own collection of bowls, design an original vase or make Christmas gifts for your friends and family. To start, you just require some materials and a little imagination.
Many types of clay and colors are available, providing an opportunity to perfect your creations by experimenting little by little.
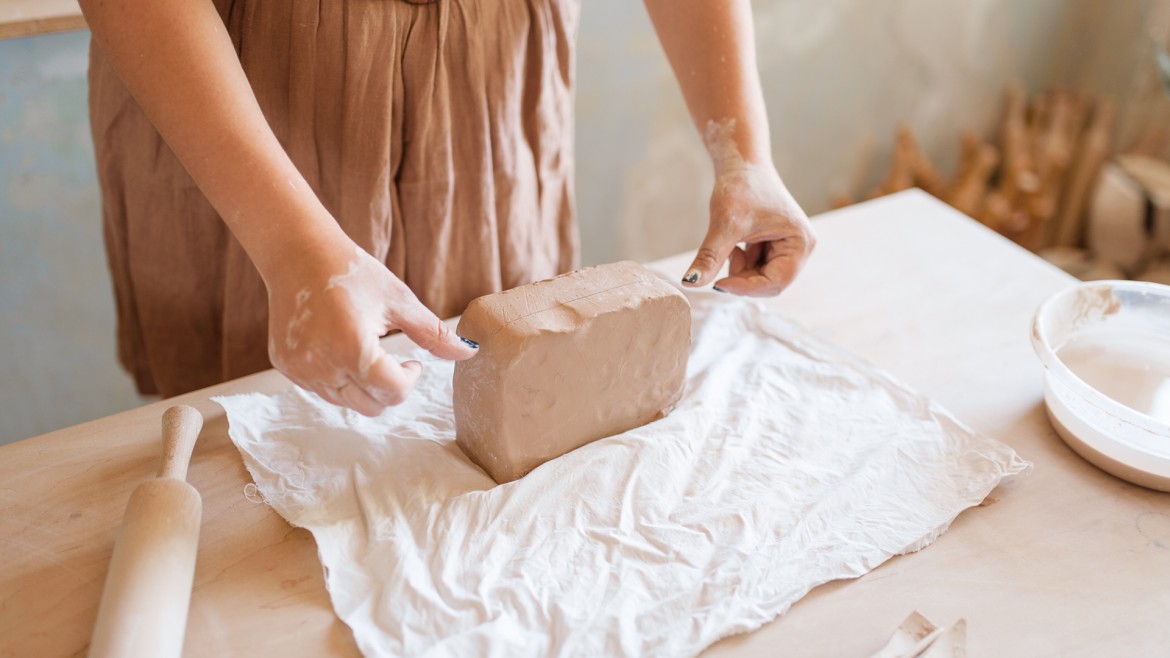
First of all, you need to choose the raw material that you would like to work with, as there are many different types of clay to experiment with. Each type of clay possesses different properties in terms of shaping ability, firing temperature and the level of porosity present. Those who already have some experience creating pottery and who use a wheel may prefer stoneware clay which is light and high in plasticity.
On the other hand, earthenware clay is more suitable for hand-molding as it is effortless to work with and very resistant. If it's the first time you are working with clay, perhaps the best bet for you is to opt for an air-drying clay that does not require firing.
Shaping
The easiest technique to create your own piece is to knead air-drying clay until it becomes soft. With the help of a roller, you are able to make plates. To mold the clay, you can use conventional toothpicks, casts and crescents to cut or create angles to pieces. With this technique, you can create a wide variety of ceramic pieces: small pot plants, decorative tableware, or simple containers to store your favorite household items. After molding, let the piece dry at room temperature. If we want them to be firmer, they can be baked in a domestic oven at 100 degrees Celsius (212 degrees Fahrenheit), although this is not necessary.
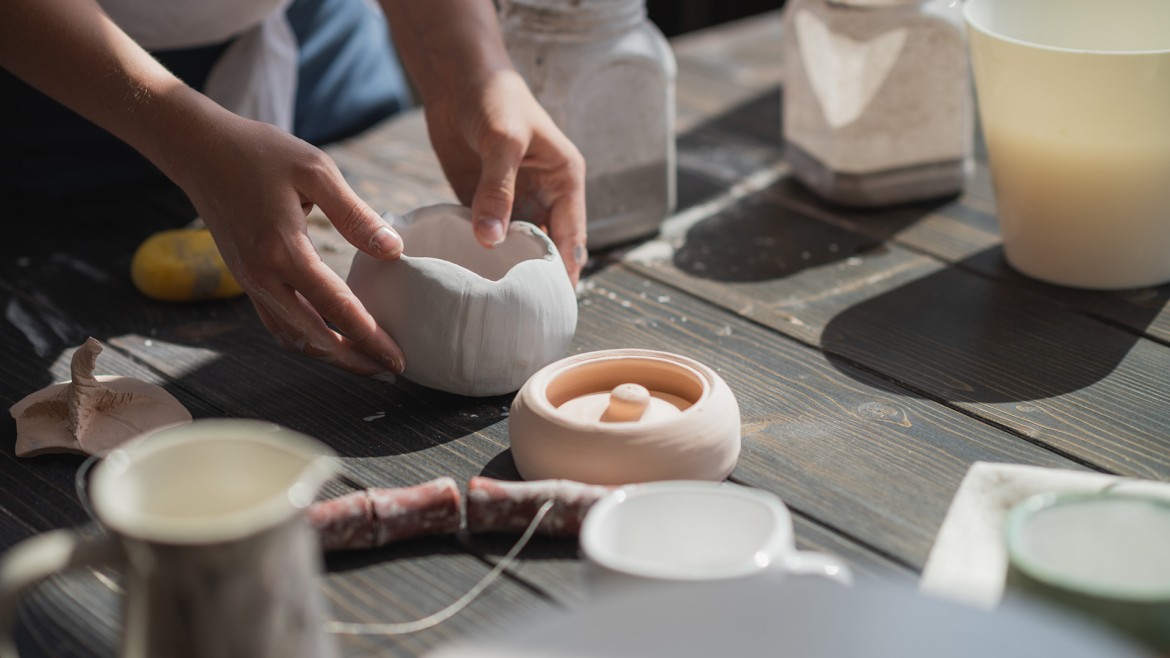
The hollow-out technique requires a little more skill. This is an excellent option where you can create ceramic containers without having to use a lathe. To achieve this, the clay is kneaded into a ball. Then, using your thumbs, the ball is hollowed from above, giving depth to the piece while your fingers grip the outer walls as they become thinner and thinner. During this process, the clay dries and small cracks may appear. These can be filled in by moistening the clay with a bit of water. The important thing in this technique is to ensure that the wall has the same thickness consistently throughout the piece.
Different techniques with different degrees of difficulty can be applied to shape clay: shaping with plates for cubic shapes or the hollow-out and roll techniques for cylindrical shapes.
If you want to cook up a creation at home but you do not have a conventional ceramic oven, you could try a microwave kiln that can be placed in a standard microwave. If you choose this option, it is important to apply appropriate protective measures and to let it cool after use for safe handling. The use of heat resistant gloves is imperative if you are to work with this kiln.
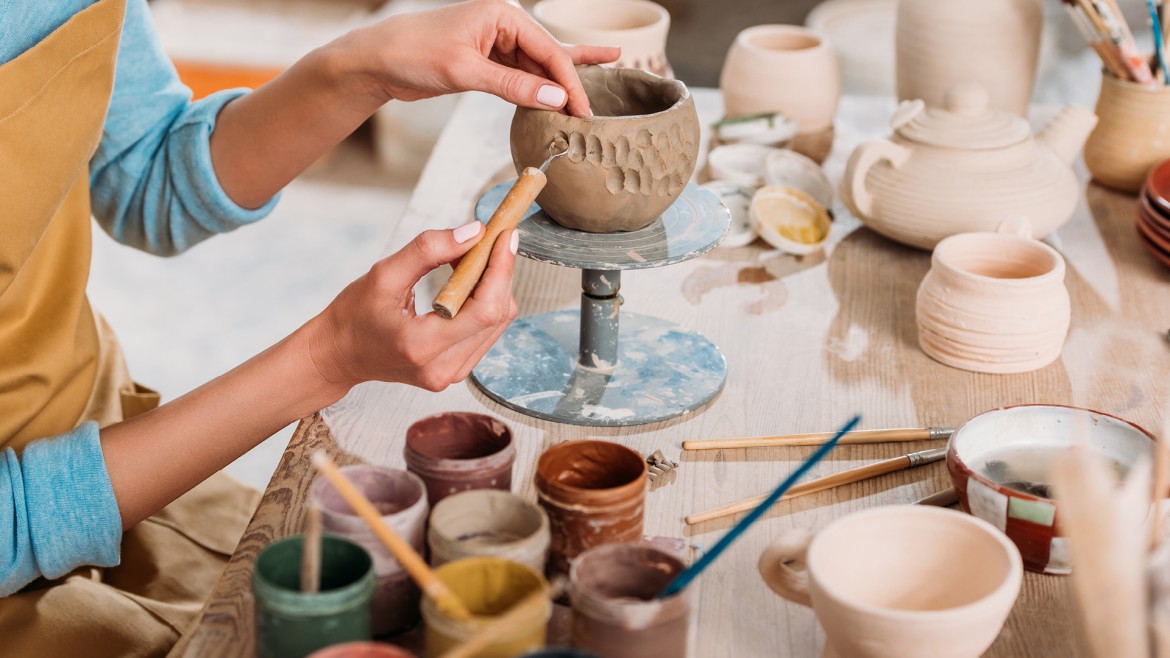
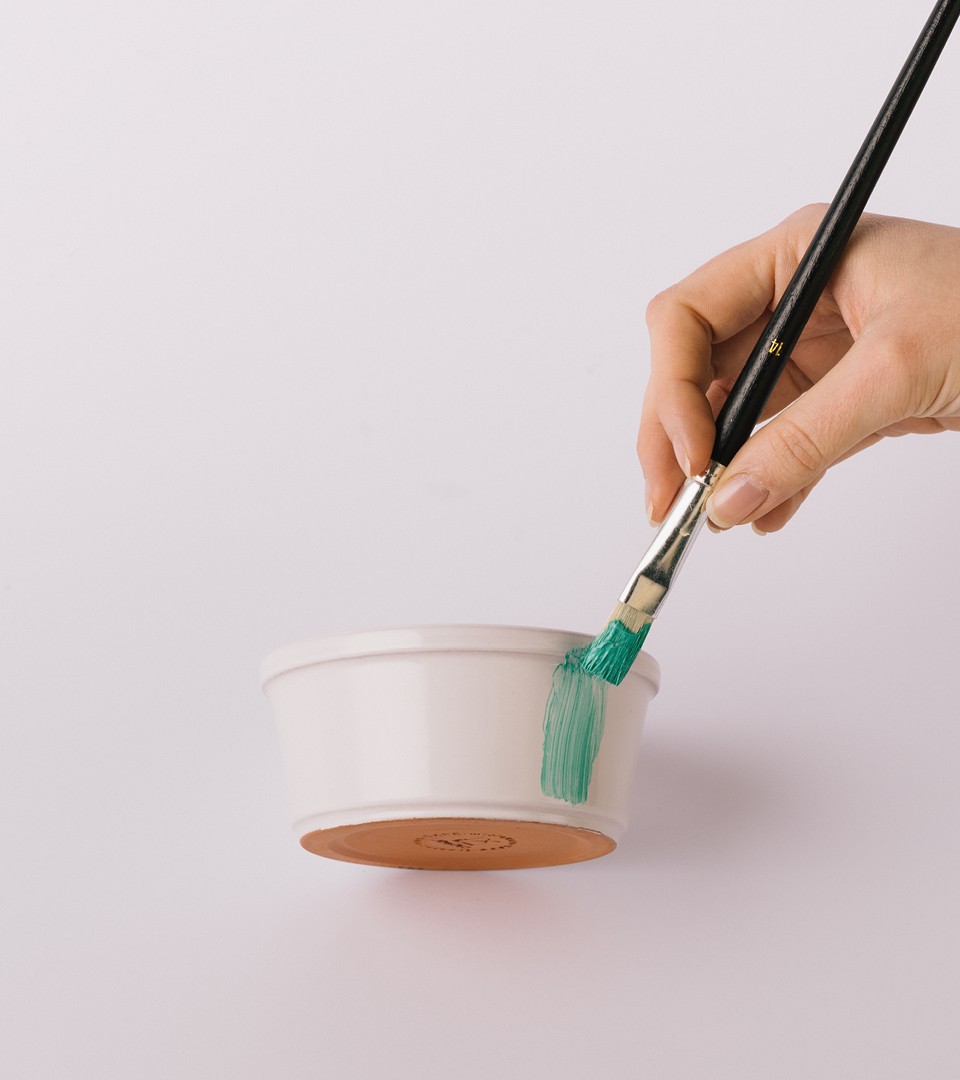
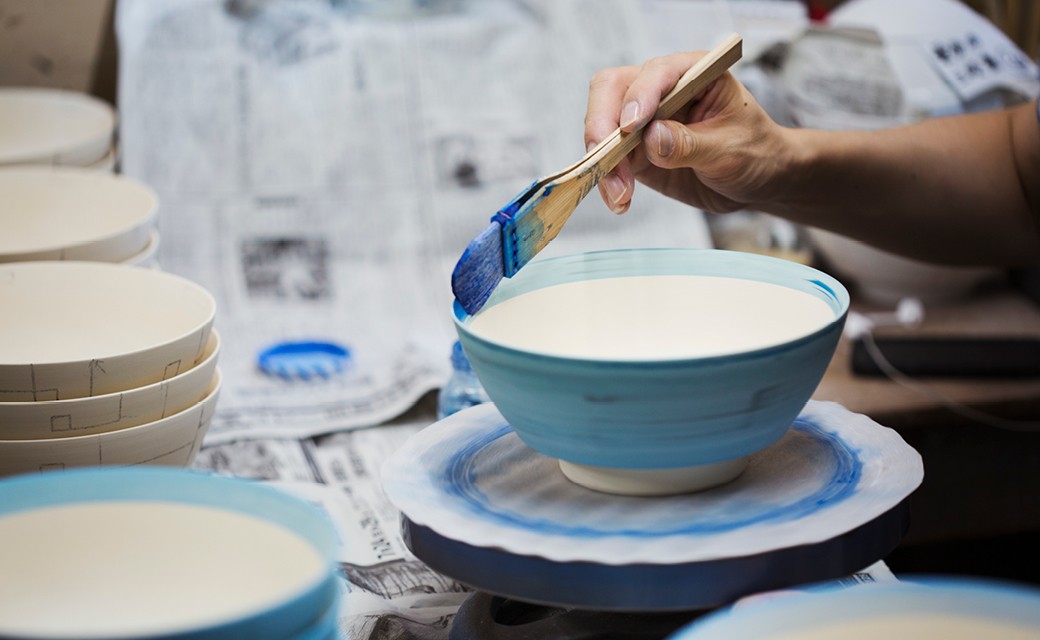
The personal touch
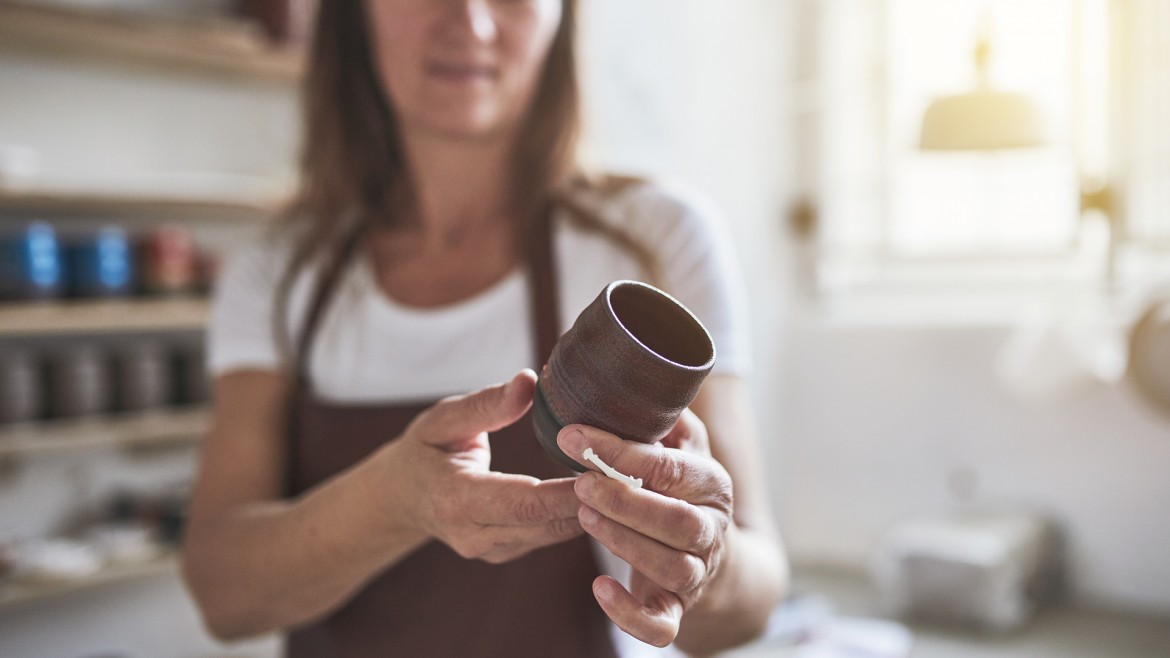
After cooking or drying, it is time to give your creation a personal touch. Glazing will add color and personality to your piece. After selecting your color of choice, simply pour some glazing into a metal container and gently apply by using a soft hairbrush. Non-fired based ceramic glazes can be heat-set in a domestic oven. Ceramic markers are also available, which can dry completely in approximately 12 hours. In less than a day, you can own your very first homemade ceramic piece. What are you waiting for?